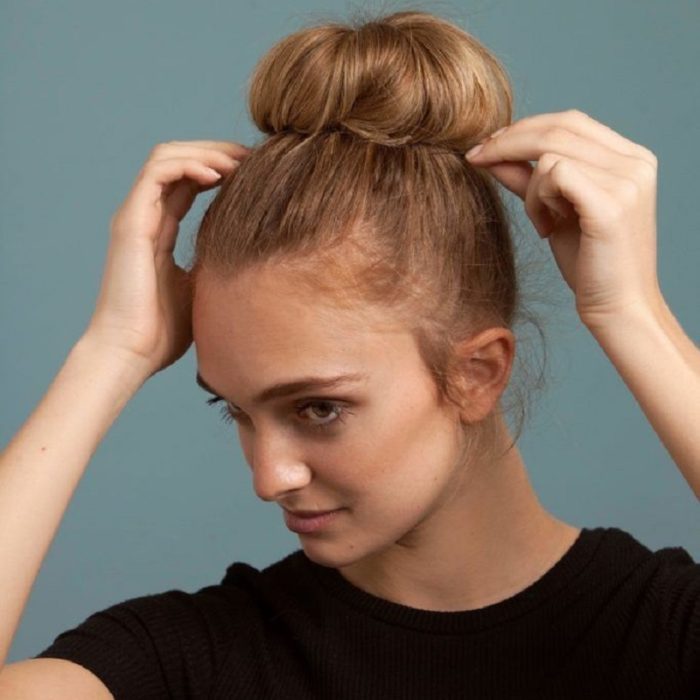
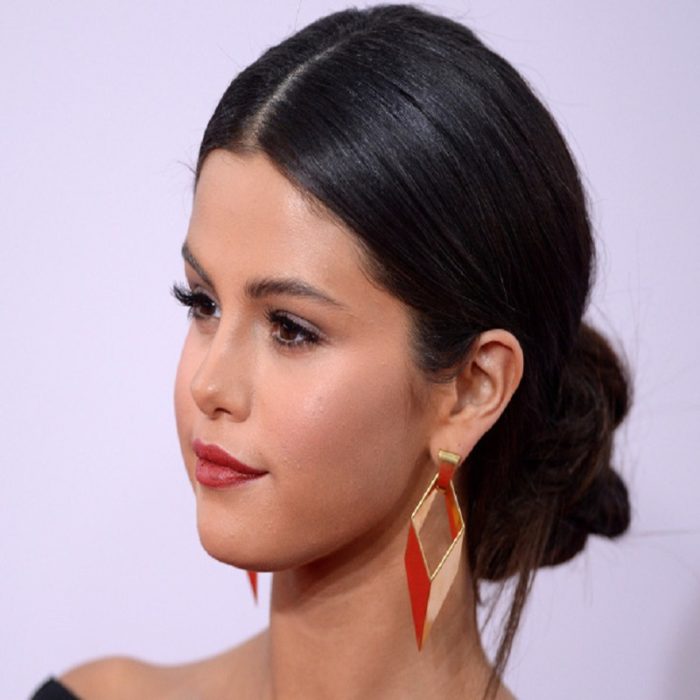
Easy 3-Step Bun Hairstyle
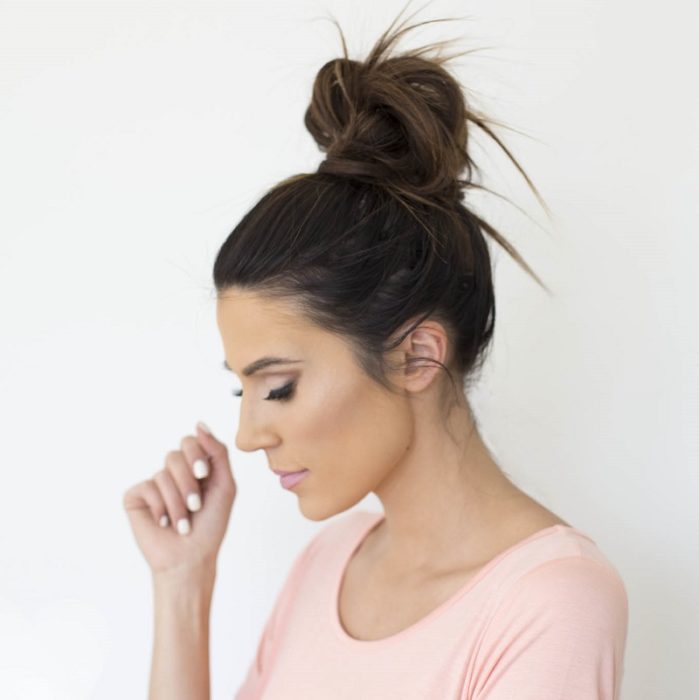
When you want your hair off your neck but are going for something more polished than usual, make this your go-to.
Mastering the perfect everyday hairstyle often requires a little bit of product and a whole lot of patience. But you don’t have to be a professional stylist to pull off flawless tresses at home. For those moments when you want a fuss-free hairstyle that still looks polished, allow us to introduce the better bun—a sleek style that comes together in under five minutes. All you need is a hair elastic, texturizing spray, and bobby pins to secure the bun in place, along with a single smoothing sheet to tame flyaways before they start. When you want your hair off your neck but are going for something more refined than a ponytail, make this updo your go-to.
Easy 3-Step Bun Tutorial
So therefore, here we would present our top 3 steps of the Easy Bun Tutorial.
What you will need:
- A brush
- An elastic band
- Few bobby pins
- Hair texturizer
Step1.

Brush dry hair to create a smooth base. Make a deep side part, and then sweep hair into a ponytail, smoothing out bumps with a brush or your fingers. Ace the placement by imagining a diagonal line from your cheekbone to the top of your pony. Secure with an elastic that blends in with your hair color.
Step2.

With your fingers, twist your ponytail into a coil. Hold the end with one hand and use the other to gently tug at the sides of the coil to loosen it and create a bulkier shape—the key to taking your bun from wimpy to wow. Mist on a texturizer, for hold and body.
Step3.

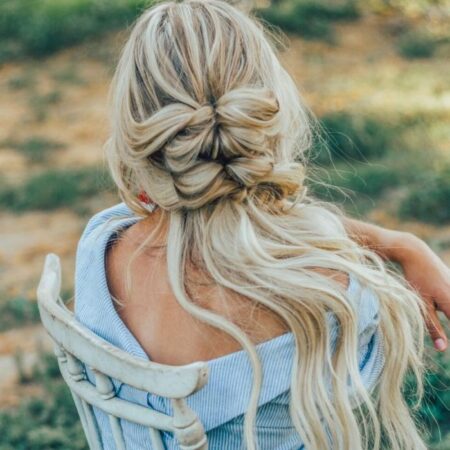
Wrap the coil around the base of your ponytail, forming a messy bun. Don’t stress if pieces pop out—an imperfect shape looks more sophisticated. Slide in bobby pins to secure loose hair to your scalp.

PIN THIS ARTICLE :


