
How To Apply Makeup Like A Pro
Your makeup is not a mask. It’s a form of art and, more importantly, a form of expression. When you have creative freedom, the power lies in your hand to try out different things and see what you like best. Because here’s the thing: your makeup is an extension of your personality. Of course, each one of us has a distinct style and preferences, but the basics of nailing your makeup – whatever kind you like – are pretty much the same.

The smallest steps can sometimes make a big difference in how your look turns out. We have done plenty of research to help you ace your makeup. From pro makeup hacks to a breakdown of the steps involved in flawless makeup application, read on to find out more.
How To Apply Makeup Perfectly
The key to a perfect base comes down to your prep. I cannot stress enough how vital prepping is because it makes your job easier, and you won’t have to work too hard on fixingissues that your skin may already have. Prepping involves cleansing, toning, and moisturizing your face before going in with any makeup. The steps below are infallible, and if you even have five minutes to spare, you will become a pro within no time. Let’s get rolling to the fun part now.
What You Need
- Primer
- Foundation
- Concealer
- Blush/Bronzer
- Powder
- Eyeshadow
- Eyeliner
- Mascara
- Lipstick/Gloss
According to your preferences, you can choose to skip any products you don’t wish to wear. Either way, we’ve chalked out a complete step-by-step makeup routine for you. Remember, it’s important to be aware of your skin type, so you can choose the right products for your skin. For instance, if you have oily skin, water-based makeup is the right call for you. Dry skin beauties can try out oil-based formulas. And if you are someone with sensitive skin, there’s always mineral makeup out there.
Step-By-Step Tutorial To Perfect Makeup
Part I: Achieving A Flawless Base
Step 1: Prime Your Face

The first step to any makeup look is to apply a primer. Doing so will boost coverage, smoothen out your texture, minimize pores, and increase the longevity of your makeup. If you are going to be running around or sweating, a primer is a must.
L’Oreal’s Base Magique and Benefit’s Porefessional are great options for primers.
Step 2: Apply Foundation
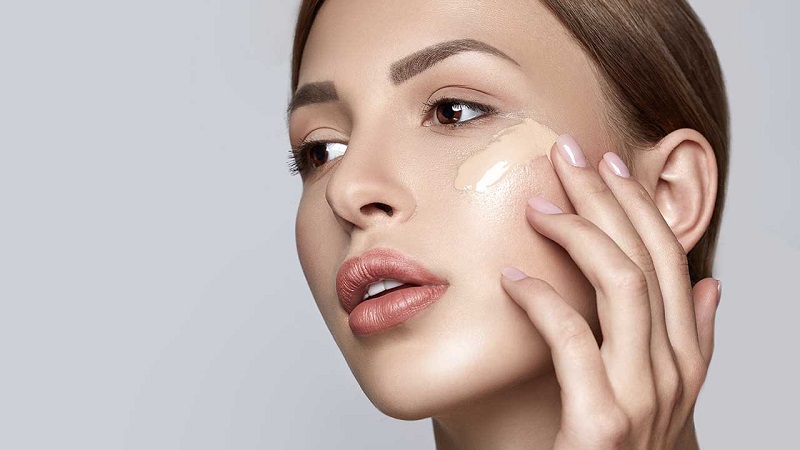
Choose a foundation that matches your skin tone and apply it onto primed skin using a foundation brush or a damp beauty blender. Make sure you blend the product well along your face, jawline, and neck, so you don’t end up looking like an Oompa-Loompa. If you have stubborn blemishes or spots, you can always build more coverage for an even finish. Remember the golden rule – less is more. That, my friends, is indeed the case with foundation.
Maybelline’s Fit Me range has a variety of different foundation shades and is an excellent pick for liquid foundation. Also, Bobbi Brown’s Foundation Stick works well for an incredibly natural finish.
Step 3: Time To Conceal

Apply concealer in a shade that’s slightly lighter than your skin tone to brighten and even out any areas that need work. Using a concealer brush, apply the formula under your eyes in an upside-down triangle shape and blend it out really, really well. Dab some concealer onto dark spots and other imperfections, ensuring you blend out the edges well so that your concealer seamlessly blends into your foundation.
Choose a liquid concealer for weightless coverage and a wide area of your face, like the under-eye area. Choose a compact or stick concealer for more solid coverage and smaller areas.
Step 4: Set Your Foundation
If you have normal skin, you can get away with patting some setting powder onto your T-zone. However, it is a good idea for the rest of your face to use a compact or setting powder to seal the deal. Use a buffing brush to apply the powder evenly onto your face and neck.
A compact powder is easy to tuck into your purse, and a few touch-ups throughout the day can keep your face looking shine-free.
Part II: Defining Your Features
Once you’ve got your base right, it is time to define and enhance your beautiful features.
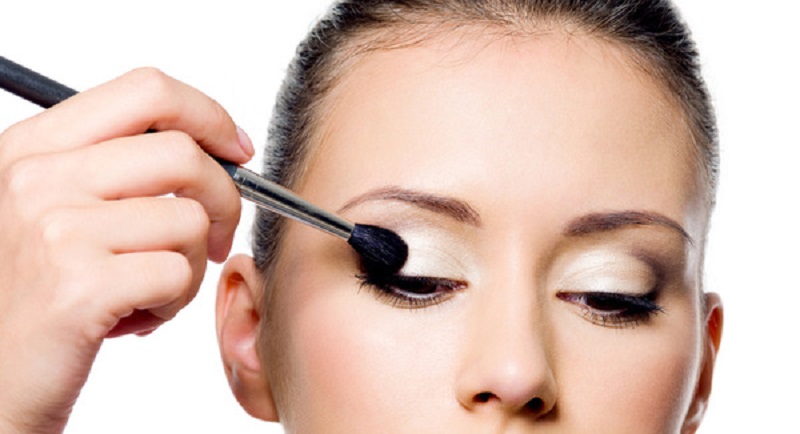
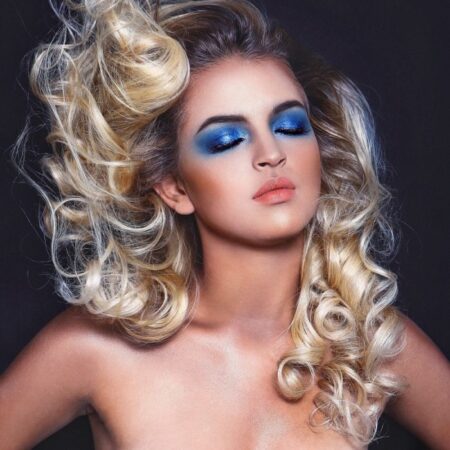
Enhance Your Eyes
Make sure you invest in a high-quality eyeliner and mascara that don’t smudge or smear.
- Using an eyeliner, line your upper waterline and the outer corners of your lower lashline. Use a brush to smudge the product to avoid harsh lines.
- Use an eyelash curler to curl your lashes.
- Apply a coat of mascara to instantly open up your eyes and make you look more awake and bright.
- You can add a hint of a neutral shade of eyeshadow to your eyelids for a complete look.
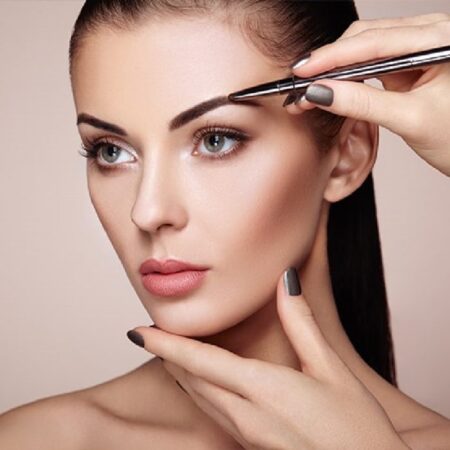
Create Brows That Are On-Point
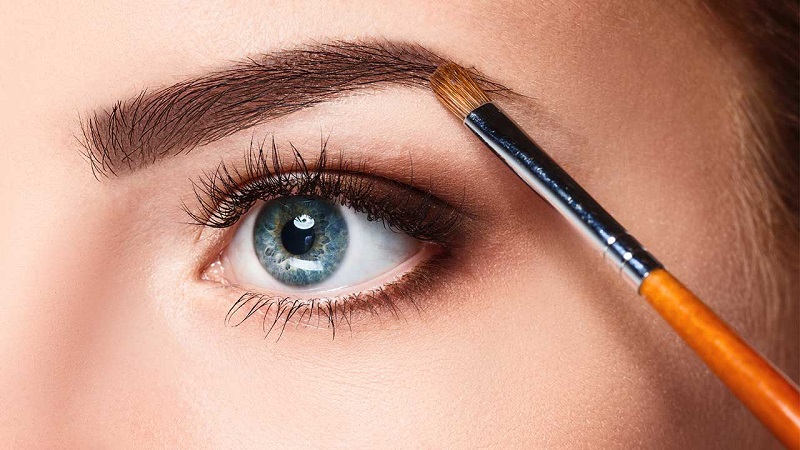
Defining your eyebrows adds structure to your face instantly. If you have naturally dark, well-defined eyebrows, you can skip this step. But if you have sparse or over-plucked eyebrows, you can use an eyebrow pencil or brow pomade to fill them in.
- Choose a pencil or product that very closely matches your eyebrows.
- Use short strokes to create small “hairs” in the gaps.
- Use a makeup brush to blend and brush out the product evenly into your eyebrows for a natural look.
- Once you fill them in, you can use an eyebrow gel to set them in place.
- You can also add some highlighter under the arches of your brows to make them stand out even more.
There are multiple products available in the market specifically for your brows like eyebrow kits, pencils, and duo-shapers.
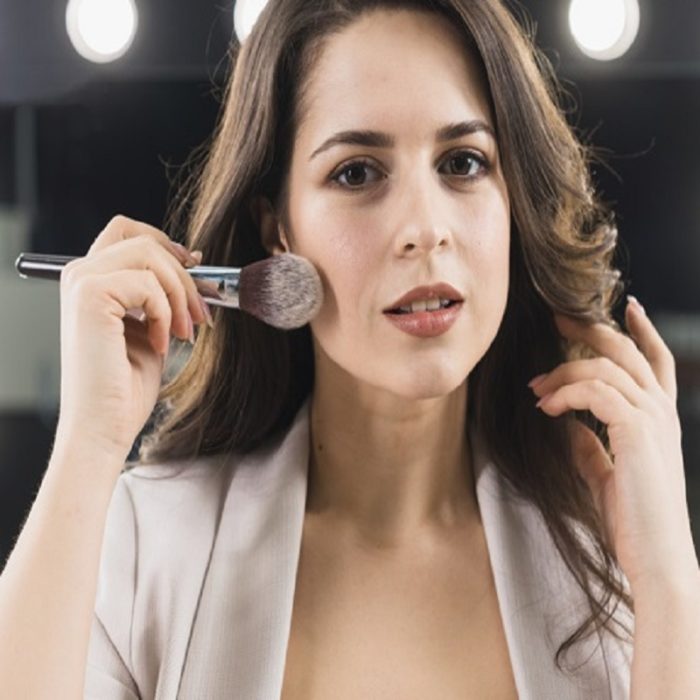
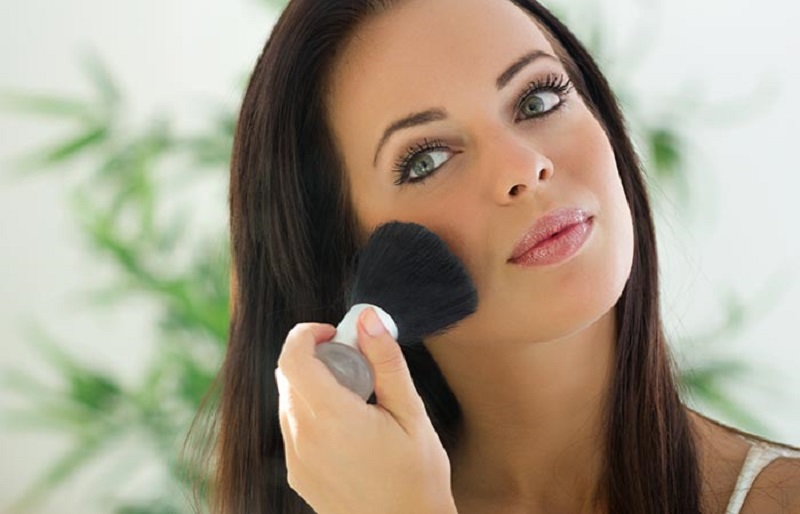
Add A Flush Of Color To Your Face
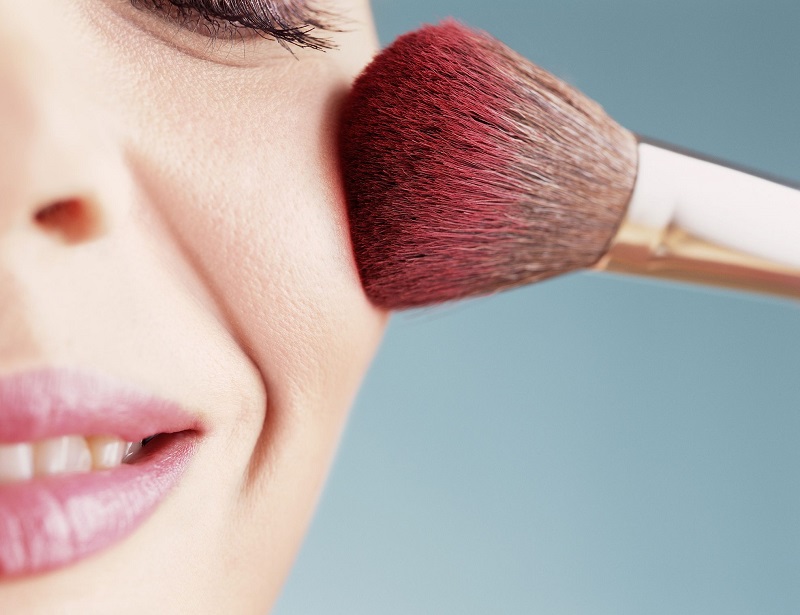
Blush adds a cheeky glow to your skin and makes it look fresh and healthy. Use a fluffy brush to apply the blush to the apples of your cheeks. Refrain from mixing textures – if you are using a powder, stick to powder blush and if you are going without powder, stick to a cream blush.
You can add a touch of highlighter or luminizer to your cheekbones along the bridge of your nose and under your brow bones for an appealing radiance.
Define Your Pout

Before you put anything onto your lips, make sure you moisturize them with some lip balm. Choose lip colors that complement your skin tone. If you want to wear nude lipstick, find the right shade of nude for your skin tone.
Voila! Your makeup is complete, and you are set to go out there and rule! Wasn’t that easy? With just a few steps, you can achieve this camera-ready look whenever you want to. As per your needs, you can amp it up or down to suit the occasion and atmosphere.
Here’s the thing, though. There are going to be times when things go wrong. For times like these, it’s always helpful to have a few tricks up your sleeve to fix blunders. Let’s go over this real quick.
Tips: Avoiding And Fixing Makeup Blunders
Foundation
Firstly, don’t try to look fairer or darker. Use the exact shade of foundation for your skin tone to avoid the first and one of the most commonly committed blunders – the wrong shade of foundation. Just NO!
The right way to choose your foundation shade is to take a little bit of it on your fingertips and blend it on your jawline or neckline. If you can’t see it once it’s properly blended, that’s your shade. Always blend the product well on your face, neck, and the exposed chest part so that the colors match. If your hands are dark, you can add some on your hands as well.
If you have gotten excess product on your face, take a wet wipe and gently dab it on your face to remove it. You can do the same in case of excess concealer.
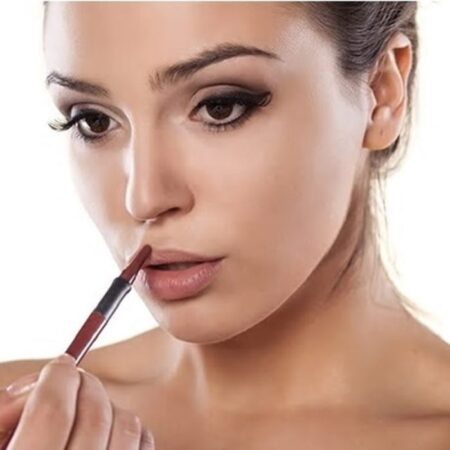
Lip Liner
This is one of the most cringe-worthy blunders you can commit. You are supposed to line the natural lining of your lips to add definition. Do not go all “Kylie Jenner” on your lips to make them look bigger. Use a neutral shade or a liner that is one shade brighter than your natural lip color.
If you get any excess liner on, take some makeup remover on a cotton pad and carefully remove the excess product without disturbing the lipstick.
Over-Plucked Eyebrows
Please be gentle while defining your brows so you don’t end up looking like you literally drew them on with a Sharpie! Use a color that looks natural on your face and make short, gentle strokes to fill them in.
Blush
In case you’ve gone overboard with your blush, use your compact powder to color-correct. You don’t want to end up looking like a clown.
Lipstick
When you want to lighten your lipstick, take a tissue paper, fold it in half, placing it between your upper and lower lips, and kiss it.
Eye Makeup
When applying eyeshadow, keep in mind not to extend it up to your eyebrows. When applying eyeliner, keep the lining as close to your waterline as possible for the best look.
Ladies, we hope you’ve got some of these tips penned down on the back of your minds. We covered a whole bunch of simple steps to help you achieve makeup that is on-point the next time you want to play around with different looks!
Expert’s Answers for Readers Questions
Q. Do I put on concealer before or after foundation?
Apply your foundation first and then your concealer. By doing so, you won’t need to use as much concealer because your foundation has you covered.
Q. Where do I apply highlighter on my face?
For an instant highlighted facelift and a luminous glow, apply highlighter to the high points of your face like your forehead, cheekbones, brow bone, chin, cupid’s bow, and the bridge of your nose.
Q. How long will makeup last on my face?
The longevity of your makeup or its staying power depends on your prep, your makeup regimen, and your activities for the day. The kind of makeup you invest in also has a huge role to play in wear-time.

PIN THIS ARTICLE :

Most Popular Articles


Related Articles


Related Articles
-

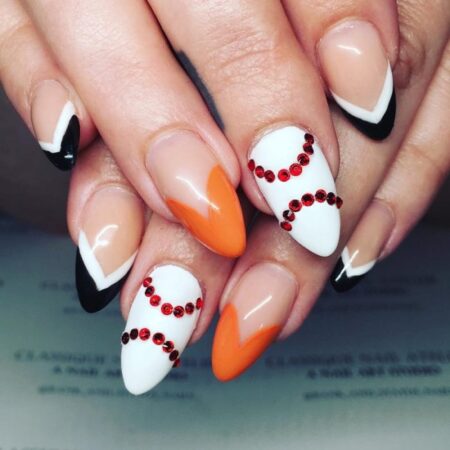
Nail Polish Colors: 7 Unexpected Nail Trends Designs For Summer 2024
Beautiful nail polish colors play a very important role in our looks. For that reason, many women try their best...
-

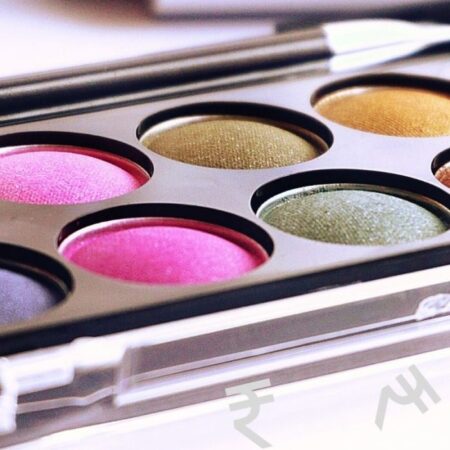
Top Affordable Eyeshadow Palettes Available In India
Whether you are planning to go out for your weekend night hang-out at the pub or your BFF’s wedding, you...
-

5 Best Dupes For Too Faced Sweet Peach Eyeshadow Palette
The Sweet Peach Eyeshadow Palette by Too Faced is just everywhere on the internet! People are going totally crazy over this limited edition palette...
-

What Is The Difference Between Eau De Parfum And Eau De Toilette?
If shopping for perfume has ever left you puzzled because of the infinite variety of scents in oh-so-many forms, you...
-

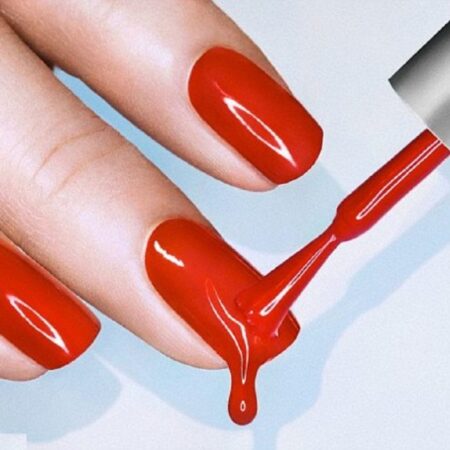
How To Avoid Bubbles In Nail Polish
Bubbles trapped in nail polish are the worst. Unlike smudges and other minor imperfections, there aren’t many fast and easy fixes for...
-

11 Best At-Home Gel Nail Kits
If you frequently visit the salon for gel manicures, you already know expensive they can be. Gel manicures can be...
-

How To Apply Lip Liner Perfectly
Lip liner is one of those magical beauty tools that serves multiple purposes: It defines your mouth, helps your lipstick stay put,...
-

7-Makeup Tips Every Girl Should Know
Makeup become one important part of every girl even on the way that the most of the girls are not going...
-

Best Eye Makeup Removers – Our Top 10 Picks
Your eyes are the mirror of your soul. And for most of us, our eye makeup is an indispensable part...