
How To Do A Manicure At Home: 10 Simple Steps
An impressive manicure involves more than just filing your nails and coating them with nail polish. It is an elaborate ritual – just the way you take care of your face. And who said that you need to pay through your nose to a nail technician to achieve fabulous nails? You can do it yourself in the comfort of your own home. Here’s a simple guide that you can follow to give yourself a manicure at home.
Easy Manicure At Home: A Step By Step Guide
Step 1: Gather All The Essential Tools

Before you start, gather all the manicure tools you will need to give yourself the perfect manicure. Here are the things that you will need:
- Nail polish remover
- Nail clipper
- Cotton pads
- Nail buffer
- Cuticle pusher and nipper
- Cuticle remover or cuticle cream
- Hand moisturizer
- A base coat for the nails
- Your favorite nail polish
- A clear top coat
Step 2: Remove Any Traces Of Nail Polish

To start off, remove the nail polish that you are wearing. Use a non-acetone nail polish remover and cotton pads to remove your old nail polish gently.
Non-acetone nail polish removers do not dry out the skin around your nails. Acetone-based nail polish removers work much faster, but they can damage your nails. If you use a nail polish remover more than once a month, it is better to use a non-acetone nail polish remover.
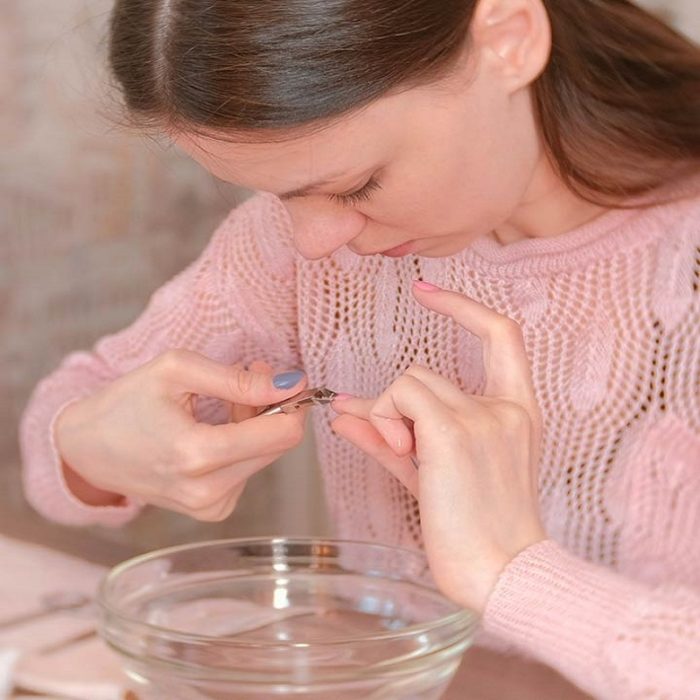
Step 3: Clip And File Your Nails

Use the nail clippers to trim your nails. Avoid cutting them too short. Then, use the nail file to shape them. If you want to keep it simple, square-shaped nails with rounded edges or simple rounded nails are best.
While filing your nails, be gentle and avoid dragging the file to and fro with excessive force. Avoid filing them too short. Just smoothen the lines and rough edges left behind by the nail clipper. Use a slightly abrasive nail buffer to smoothen the top of your nails. However, do not buff the nails too smooth because, otherwise, the nail polish won’t stick to your nails.
Step 4: Soak Your Nails (And Hands)
")
Here’s the most relaxing part of the process. Take a big glass bowl (big enough to hold your palms) and fill it with warm water. Add baby shampoo or a gentle cleanser and soak your hands in it for a few minutes (maximum 3 minutes).
Soaking the cuticles helps soften them. It loosens up the dirt and dead skin cells. Use a gentle nail brush to clean the nails and the skin around them to remove any traces of dirt. Don’t forget to scrape under the nails. Avoid over-soaking your nails and hands as it can damage them.
Step 5: Apply Cuticle Cream And Prepare The Cuticles

Wipe your nails and hands, and massage some cuticle cream onto your nails. Then, use a cuticle pusher to push the cuticles back gently. Do not exert too much pressure because that may push the cuticles too far in and damage your nails. This will also increase your chances of getting an infection.
Once the cuticles are clear, wipe off the excess cream from your nails. If you are not using a cuticle cream, you can also apply a bit of cuticle remover to clear up the cuticles.
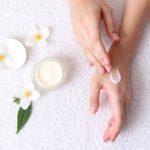
Step 6: Apply A Hand Moisturizer

Massage your hands with a hand moisturizer. Use a rich and thick cream for intense moisturization. Focus especially on your fingers and the area around your nails. If you want, you can even soak your hands in warm water for 30 seconds before applying moisturizer.
Step 7: Prep Your Nails For Polish

Nail polish will not stick to your nails if there’s too much moisturizer on them. So, you need to wipe it off. Take a cotton pad or a Q-tip and apply a bit of nail polish remover to it and wipe your nails with it.
Step 8: Apply A Thin Base Coat

Use a clear nail polish as a base coat. You can even use white nail polish as a base coat to make the color of your nail polish pop. This prevents your nails from getting stained (especially if you are wearing shades of red or blue). Also, a base coat helps the nail polish last longer.
Step 9: Apply Atop Coat

Once the base coat is dry, apply a thin coat of your favorite nail polish on top of it. Before applying the nail polish, roll the bottle between your hands. Avoid shaking it because that will create air bubbles in it and make it difficult for it to stick to your nails.
Paint vertical stripes, starting from the base of your nail toward the tip. Before applying another layer, let the previous layer dry.
Step 10: Finish It Off With A Clear Nail Polish

Once your nail polish is dry, finish it off by applying another layer of clear nail polish on top of it. This shields the nail polish from chipping or flaking. Moreover, if you have done any nail art, the clear top coat will protect that too.
To finish off your manicure, reapply the moisturizer on your hands and nails. Keeping them moisturized is essential to keep them looking healthy.
Sounds super easy, right? But, there are certain things you need to avoid when you are doing a manicure at home.
Mistakes To Avoid When Doing Manicure At Home

1. Cutting Your Nails
Avoid cutting your nails if they are already short. Just file them. If your nails are very long, just cut them halfway through and then file them down to your desired length. Cutting your nails too short will ruin the look.
2. Avoid Trimming The Cuticles
We all have cuticle skin. You don’t need to cut them off completely. Just push them back. If you think you have too much cuticle skin, try pushing them back every day when you take a shower. This is because your cuticles soften when you take a shower, which makes it easier for you to push them back.
3. Avoid Filing Your Nails In A To And Fro Motion
This will fray your nails and make them peel. File only in one direction. It’s best to start from one corner and work your way to the other end.
4. Clean Your Nails Completely
Before applying nail polish, make sure that your nails are free of any traces of moisturizer, water, or dirt. Use a lint-free wipe and non-acetone nail polish remover to clean them thoroughly.
5. Don’t Forget to Paint the Tips
If your polish isn’t sealed properly, it will start to chip in a few days. The best way to avoid this is by sealing the tips with the top coat. When applying the top coat of clear nail polish, turn your fingers so that you can see the edges. Take the tip of the brush and go over the tips of your nails.
When you know the right technique and have the perfect manicure kit, doing a manicure at home is pretty simple. It saves a lot of time and money. Try this DIY manicure at the comfort of your home and let me know your feedback in the comments section below.
Most Popular Articles


Related Articles


Related Articles
-

Best Vegan Face Wash For 2026 – Top 10 Picks
Mother nature offers the best of her creations for our beauty! There are tons and tons of ingredients out there...
-

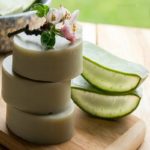
Aloe Vera Soap DIY
The skin calming agents of aloe vera are well-known. This plant can relieve from inflammation, burns, and speed up healing....
-

Reduce Under Eye Dark Circles With These 3 Steps
Believe it or not, but if you are in your late twenties, the fear of getting wrinkles and under-eye bags...
-

Ways to make your pores appear smaller
Our skin needs pores to store the naturally occurring oils called sebum. So they are necessary to maintain the elasticity...
-

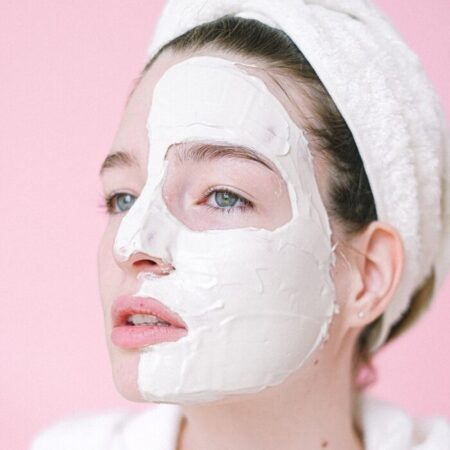
DIY Peel-Off Masks: Benefits And Easy Recipes
You can never go wrong with a facial mask, especially if it is a DIY peel-off mask. Whether you are...
-

How To Make Homemade Sugar Scrubs
One of the most important steps in a skin care routine is exfoliation. And, sugar crystals have become a new...
-

What Does Vitamin F Do For Your Skin?
It is rich in Omega 6 which is essential for maintaining healthy skin and hair, and it’s high fatty acid...
-

Can You Use Witch Hazel On Your Face?
Witch hazel – the name itself sounds so mystical! This alluring ingredient is added to many skin care products like...
-

How To Make Lotion At Home: DIY Recipe
Hydrating. Non-greasy. No residues. Chemical-free. Do you think you are expecting too much from a bottle of moisturizer? Not really....